AIMoCap Docs
Character Management
Upload a humanoid FBX, edit the A-pose/T-pose, bind the skeleton mapping, test retargeting, and publish the final character.
Built-in targets
Before uploading a custom character, it helps to understand the built-in targets already available in Studio.
- Default: the default humanoid output based on a metahuman-style skeleton
- Unitree G1: a robot-oriented output path for Unitree G1
Custom character workflow
Character Management is currently focused on humanoid FBX assets.
- Only humanoid body structures are supported in the current release
- Custom robot character upload is planned for a future update
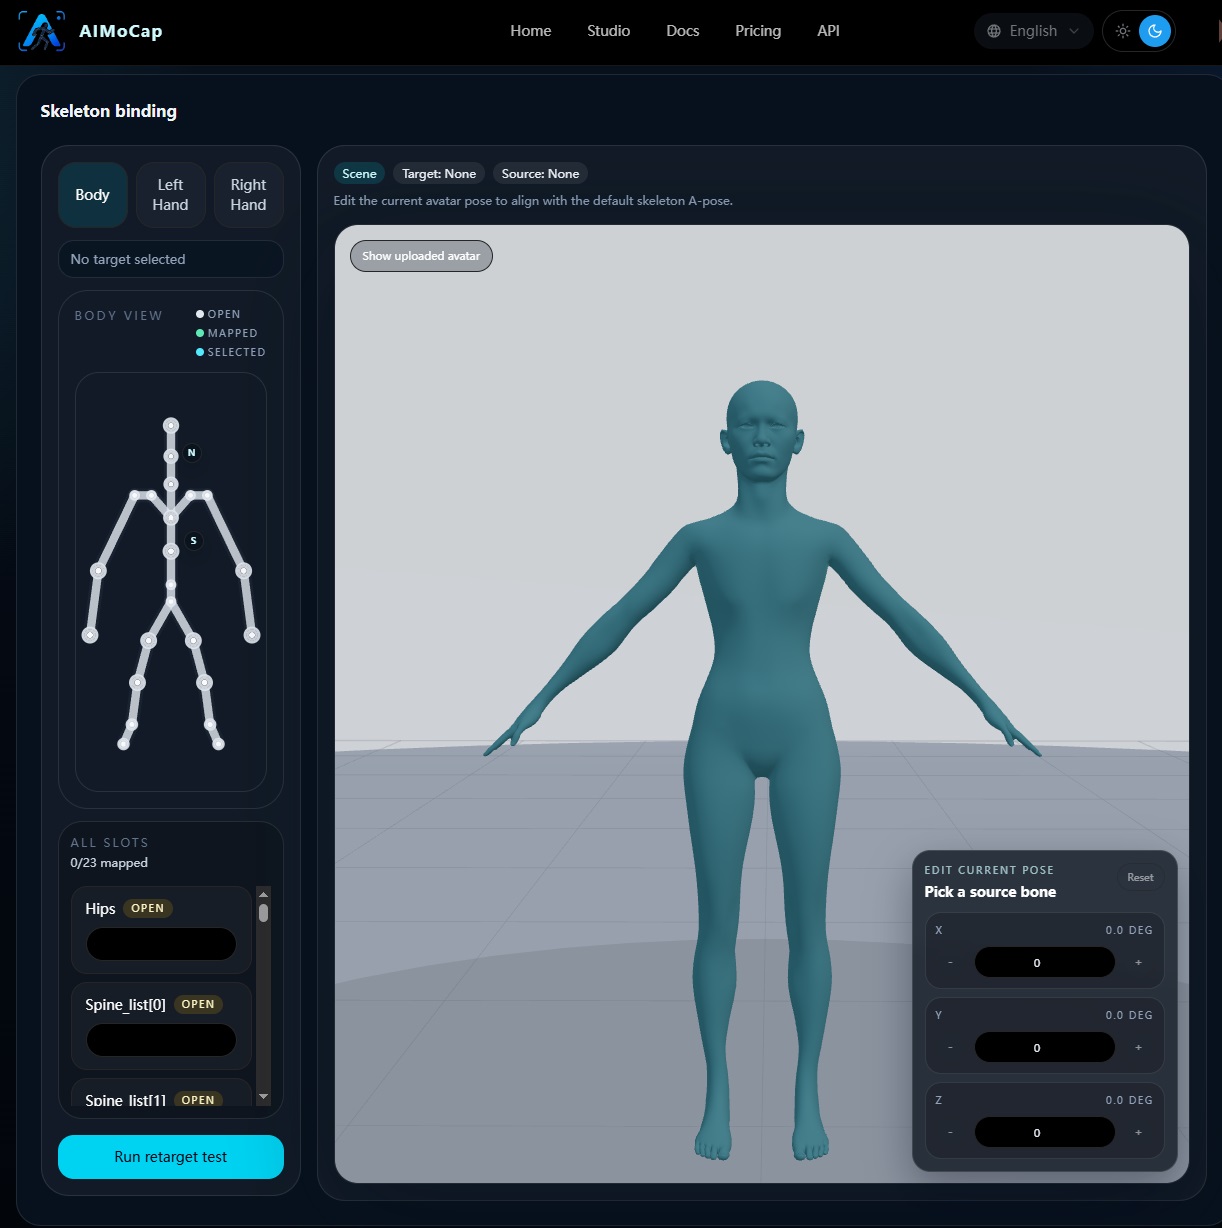
Step 1. Upload the source FBX
Upload the character FBX that you want to publish into the AIMoCap library.

Step 2. Edit the A-pose/T-pose
Before binding, use the default skeleton A-pose or T-pose as needed and adjust the source skeleton into a clean, stable retarget base pose.
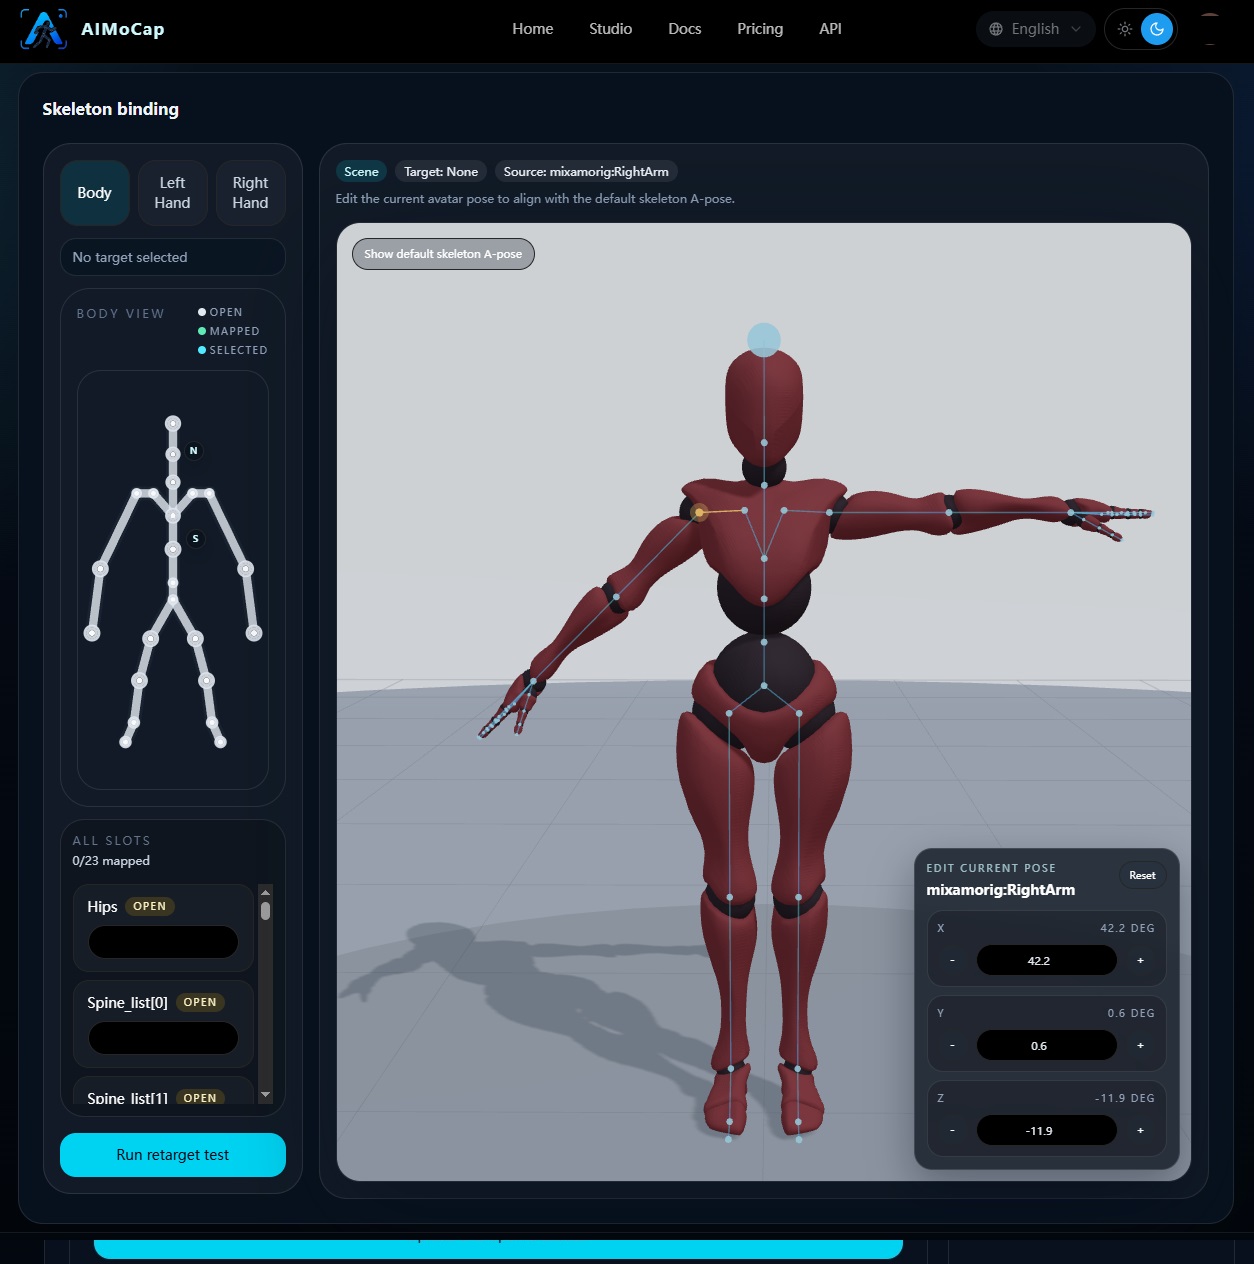
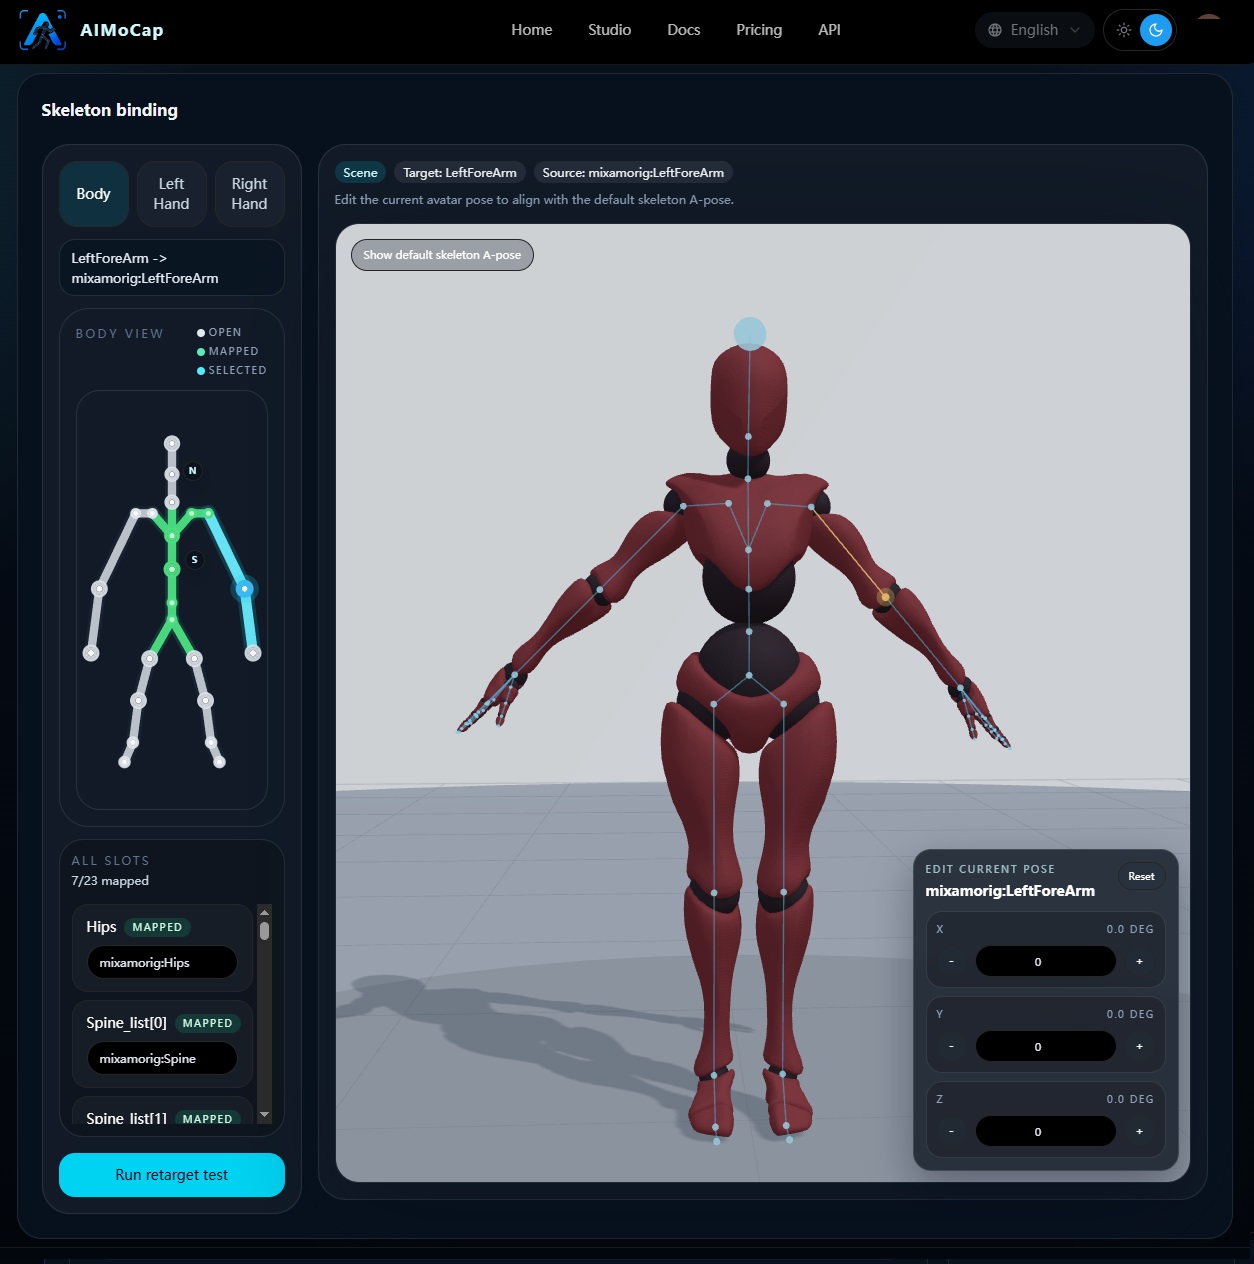
Step 3. Bind the skeleton mapping
Map the source FBX skeleton to the AIMoCap humanoid target structure.
- hips
- spine chain
- neck chain
- arms and forearms
- hands
- legs and feet
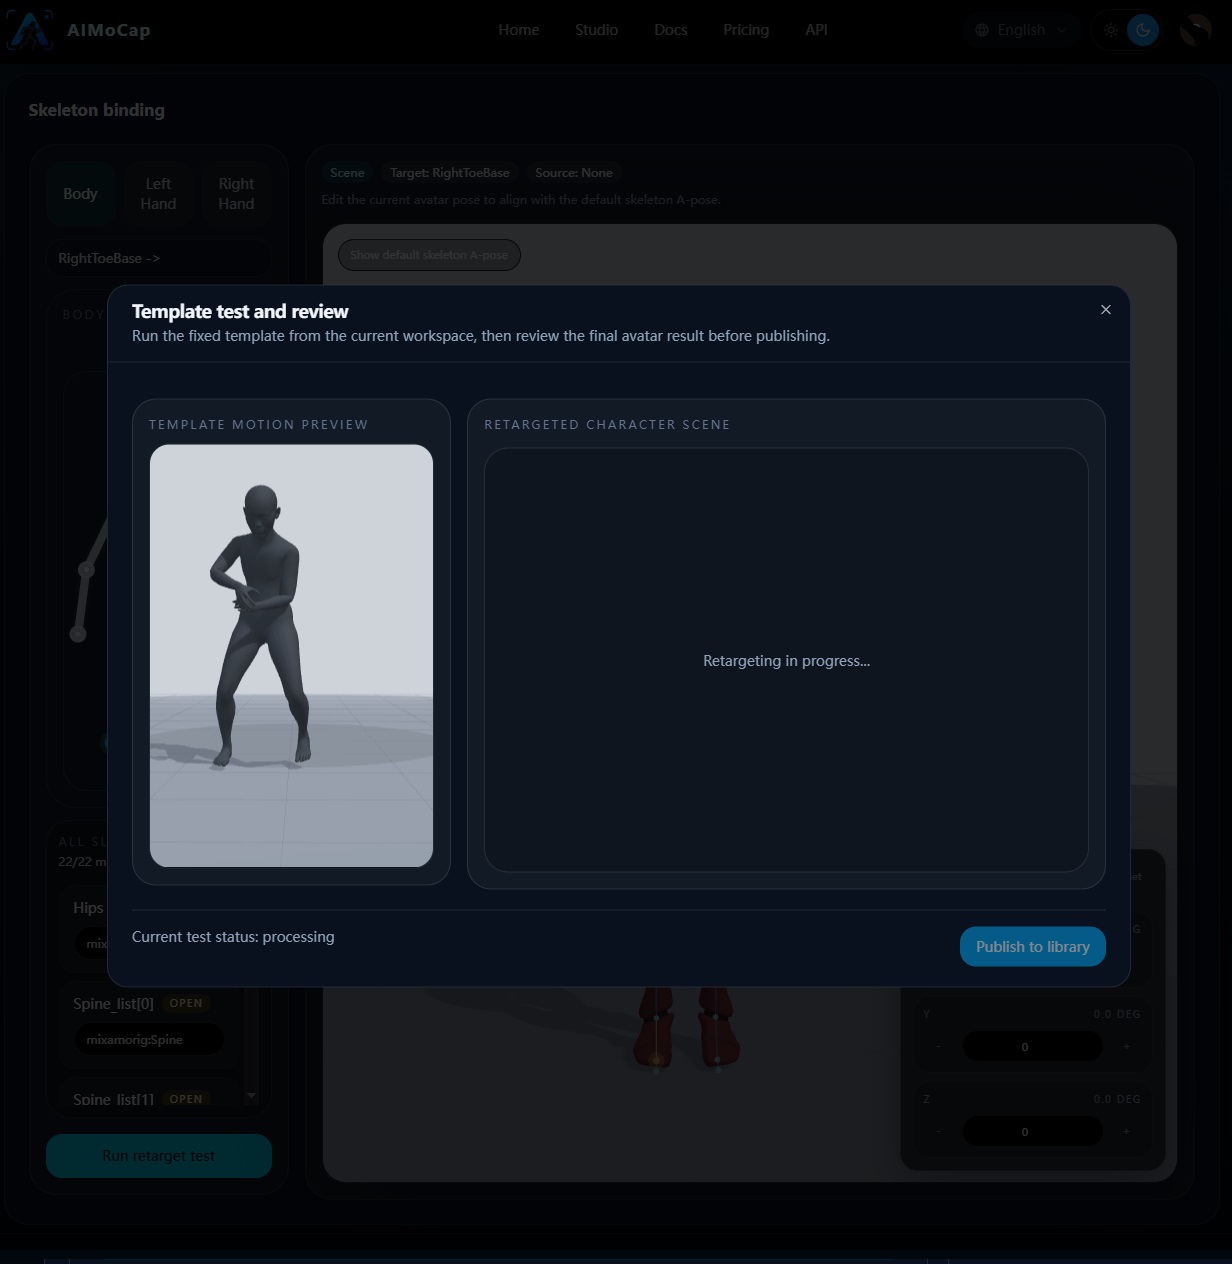
Step 4. Run a retarget test
After pose editing and mapping, run a retarget validation pass.
- AIMoCap creates a test run
- the local retarget runner processes it
- you preview the result before publishing
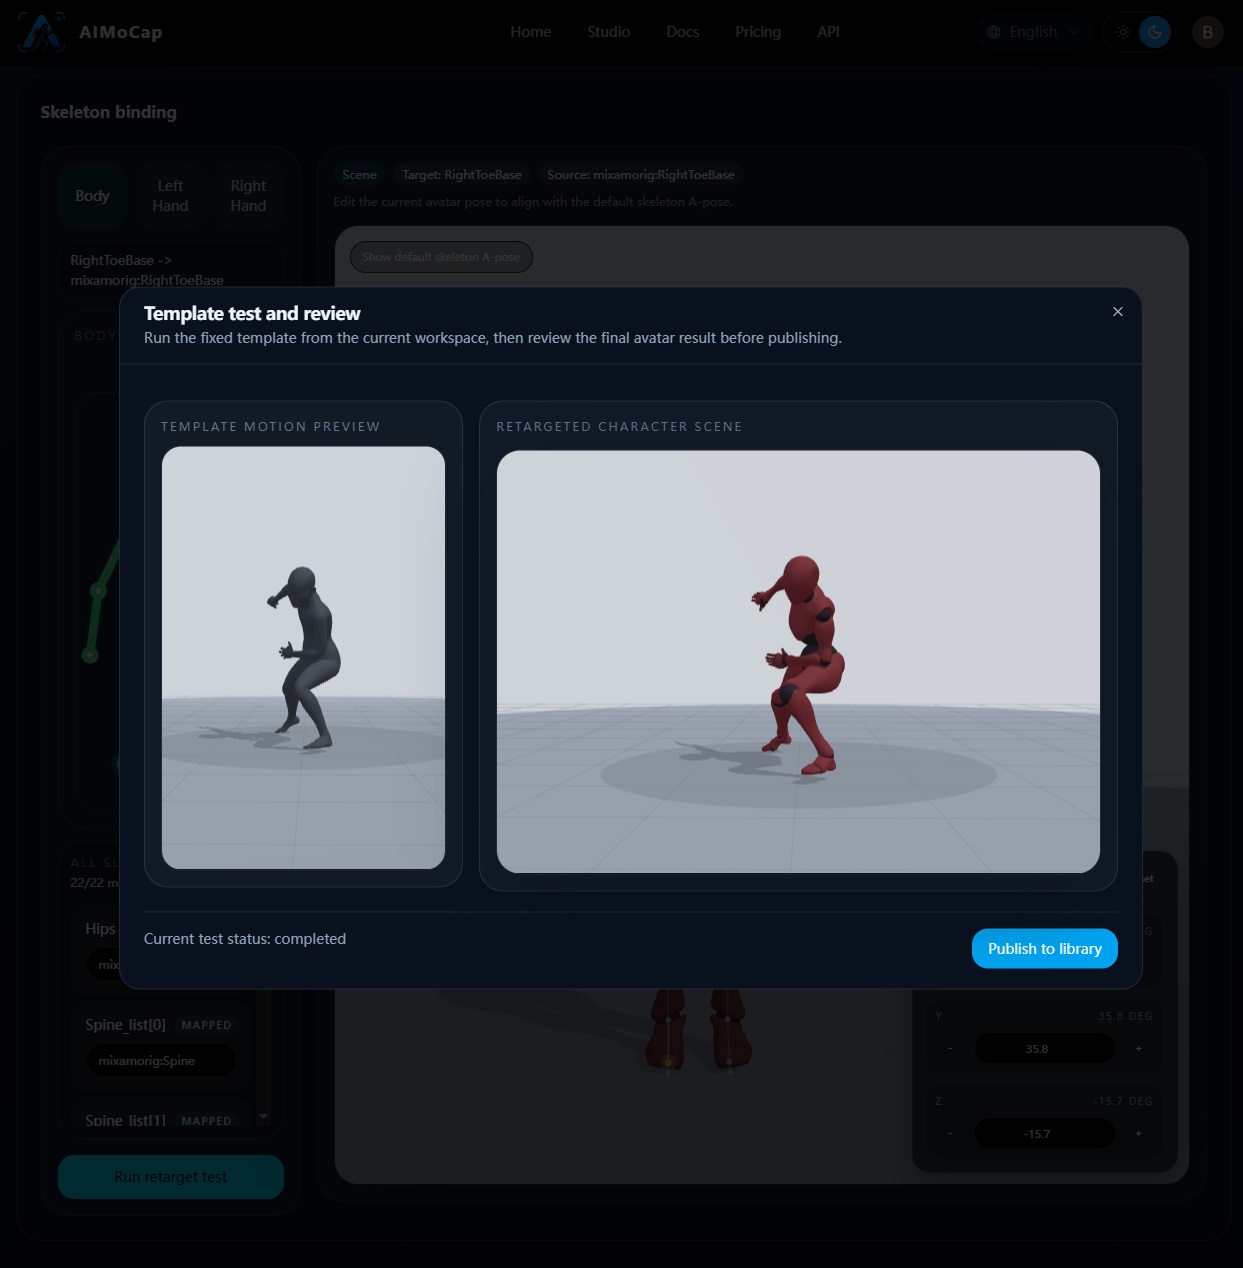
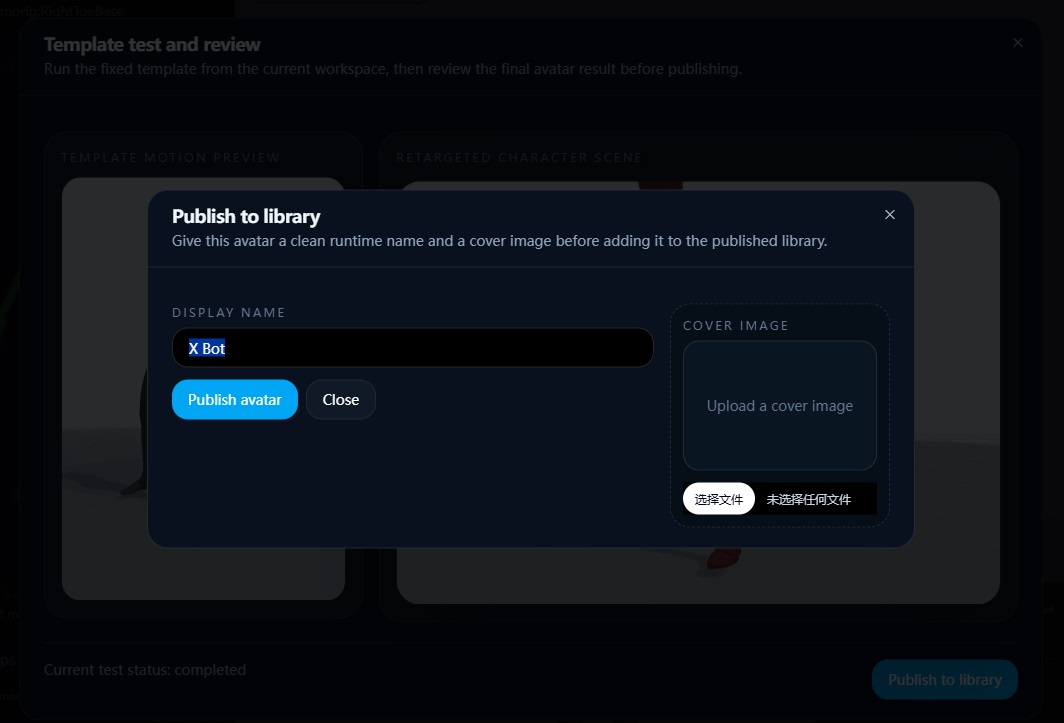
Step 5. Publish only after the result looks correct
If the retarget result looks correct, publish the character.
If the result is wrong:
- adjust the A-pose/T-pose
- update the bone mapping
- run the test again
After publishing:
- the character appears in the character library
- the same character becomes selectable as an output target in Video Mocap Studio